Making Oilstone Boxes
With my Narex chisels here and ready for use I'm eager to find out just how they perform. To find out how good or bad they are they will inevitably need honing. But before all that I wanted to give my favoured sharpening medium a pleasing new home. I saw this type of design within the pages of Vol 1 of "Carpentry & Joinery" from the New Era Publishing Co 1931.
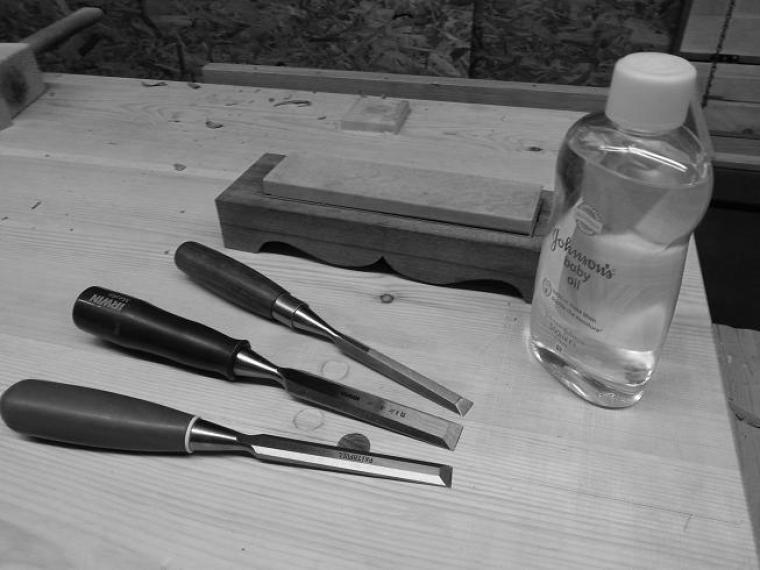
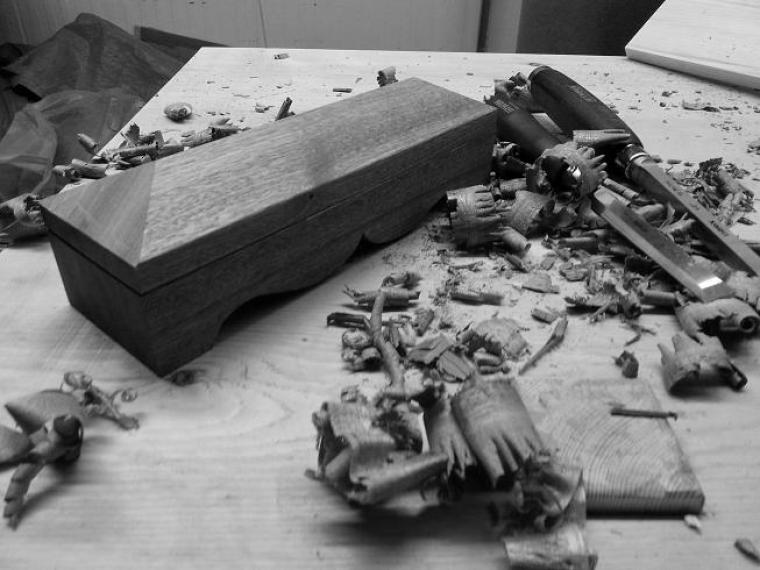
Hopefully my video at the top of the page will help give a good overview on how I went about making the oilstone boxes. Here's a rundown with pictures and notes too. First thing you will need if some offcuts of a nice hardwood. Anything will do really but dense wood would be helpful. I went for sapele which I hope will mellow into a darker and richer colour over time. The stone I am inserting here is the versatile Norton India combination stone.

To set out the mortice simply center the stone and draw around it in pencil, then reinforce those lines with a marking gauge with the grain and a cutting gauge across the grain.
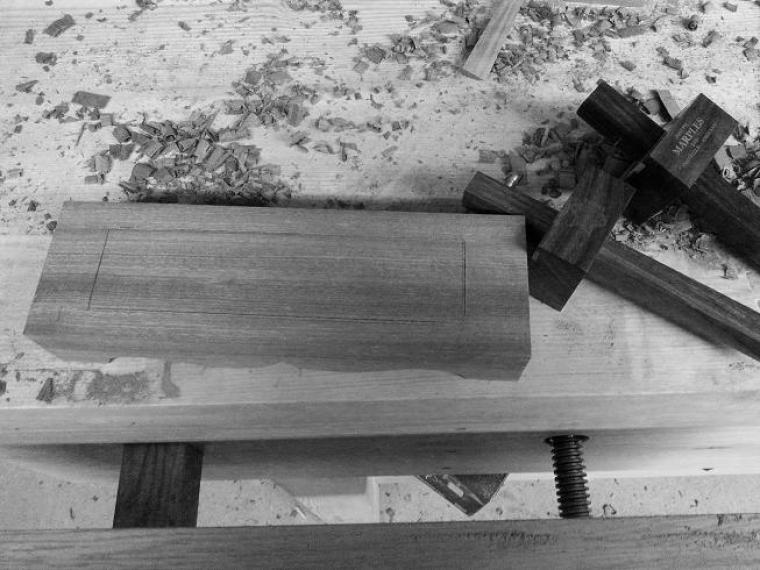
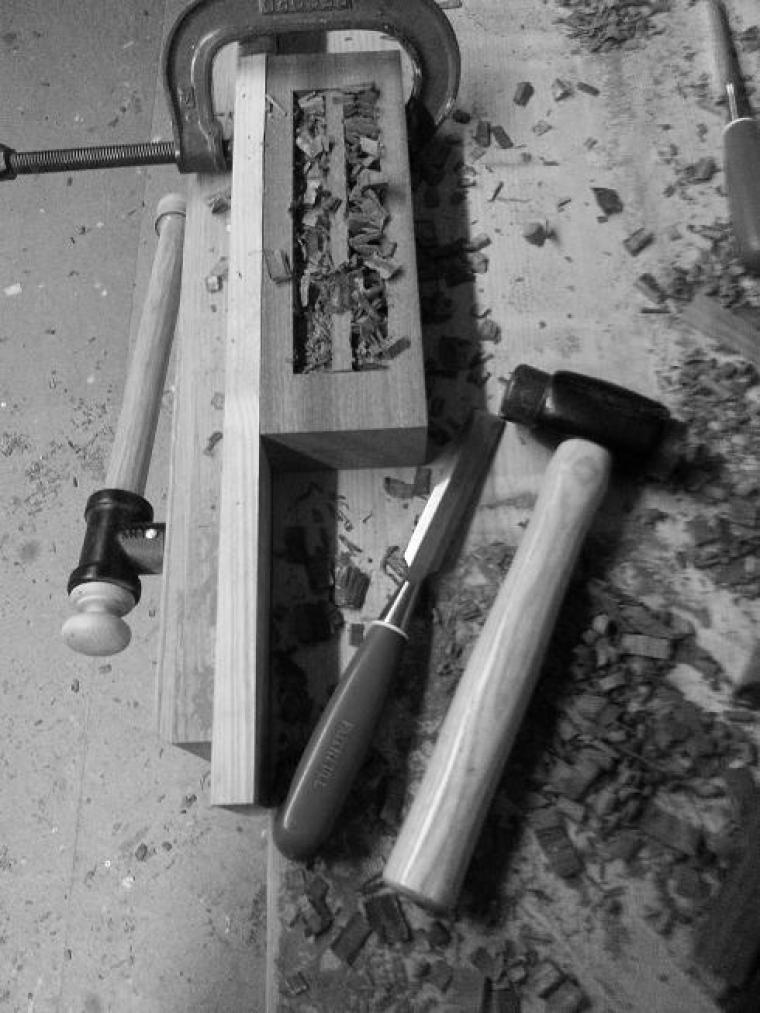
If like me you like to chop then grab a general purpose chisel or a mortice chisel and go to work! In the video I cut two long 18mm wide mortices. I level the base of the mortices with a router plane. With that established the waste in the center can then be removed. Whenever possible I like to have my work on the bench and over the bench leg for morticing work. I find this offers the best support.
Then apply a template of your chosen shape (mine is a kind of double ogee) and draw the outline. I then saw across the waste that needs to be removed to form the profile.
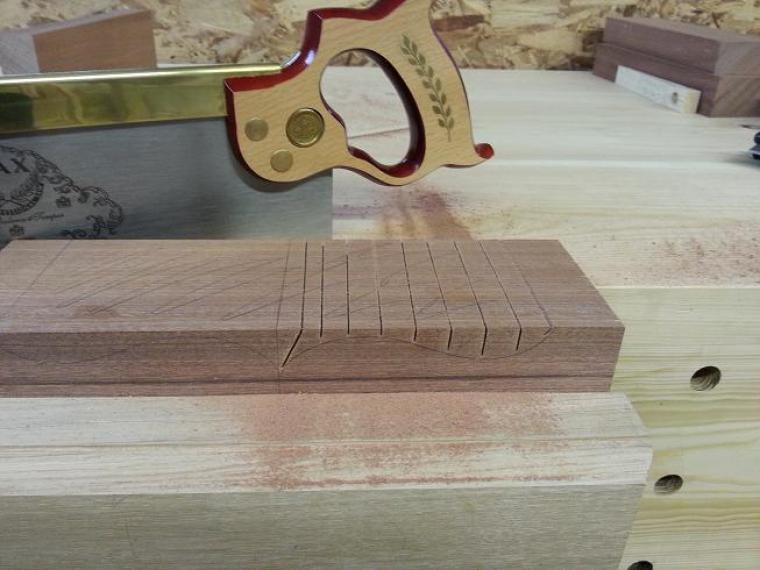
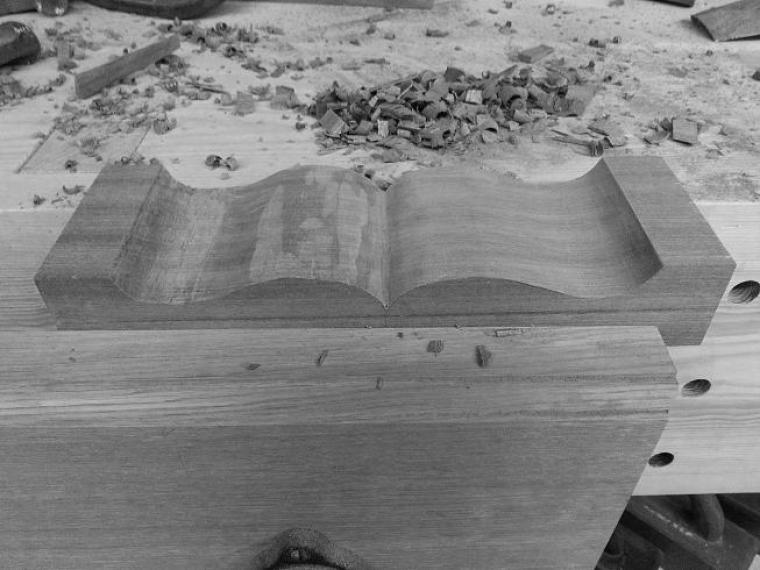
By cutting the waste into small portions removal is made easier. Initial waste removal is done rough and ready with a chisel. Once the bulk is removed a more gentle approach is needed, making sure you avoid lifting the grain. Working across the wood or downhill will avoid lifting chucks of grain out. I used an inside ground gouge to refine the hollow section. Please do use whatever tool you have at hand to create this shape, cabinet rasps, moulding planes, files, block planes will all offer something that gets the job done. Once the shape is good it's scraping and sandpaper.
Check your stone for a snug fit. I it's a combination stone make sure it's a snug fit but still easy to remove. Then you're making the roof! Cut your mortice first using the same method used on the base. Take a bit longer refining the base of this chop out, mine are not perfect but clean and tidy enough not to bug me when I lift off the lid. Then mark out the roof which in carpentry terms is a hipped roof. Mark a center line length ways and then square it across. Check out the video for how to remove the waste, use a saw across the grain first, then work along the length of the lid removing the bulk with a jack plane, finishing up with a smoother. To finish I rubbed on some honing oil which gave the timber some warmth.