Make A Six Board Chest - Part 2
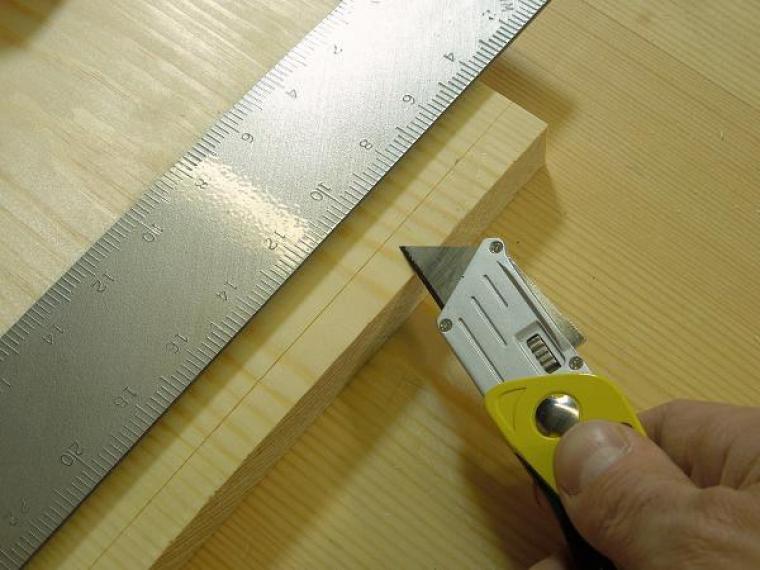
All my timber is now glued up into oversized panels. My front, back and ends are needed first and these were prepared in the typical way with handplanes. They also needed cutting to length. If you're lucky enough to have a nice crosscut sled on your table saw these cuts will be quick and easy, however I wanted to progress this project by hand. With the panels too large to trim in the shooting board I knife marked them. Creating a knife line around the wood gives a reference edge to work to and it prevents breakout when cutting. To apply a square line I used a framing or roofing square. The photos below and video should illustrate what's going on, however as with in part one and the panel glue up I think it would be a good idea to do a video and blog article on this too.
Mark off the length
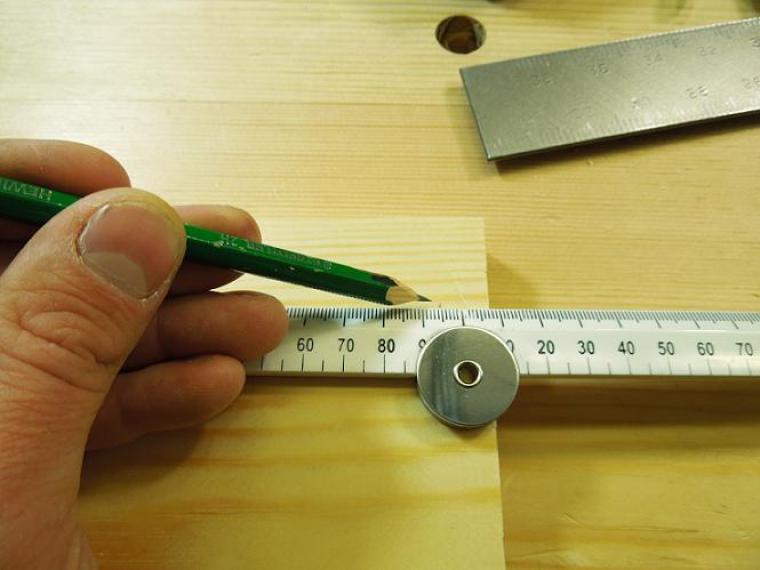
Bring the knife to the mark
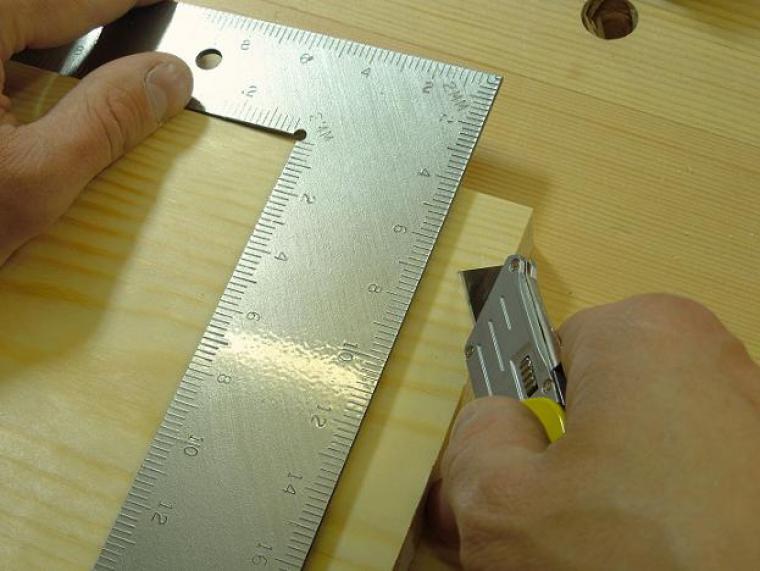
Slide the square to the knife
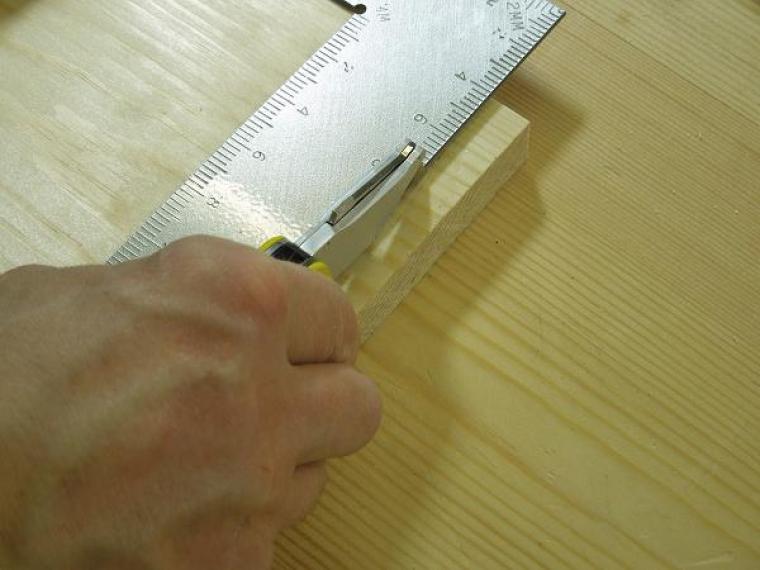
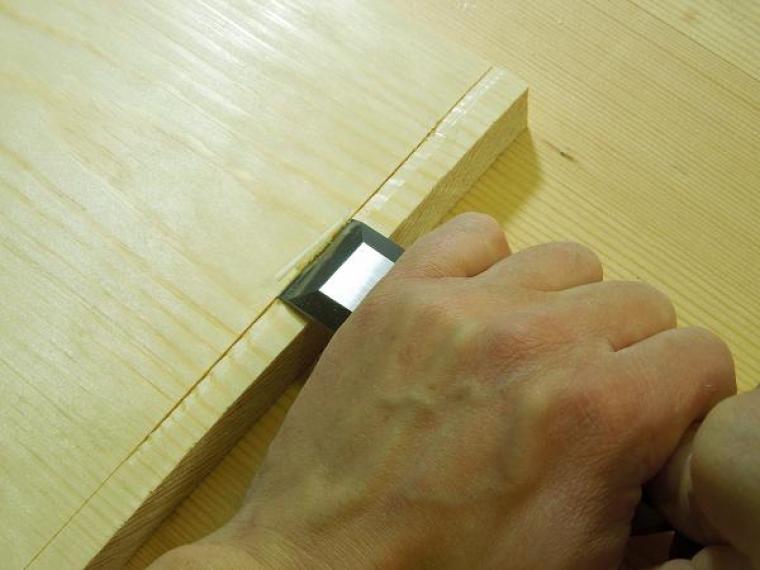
Draw the knife back, lightly to start and then reinforce with firmer strokes.
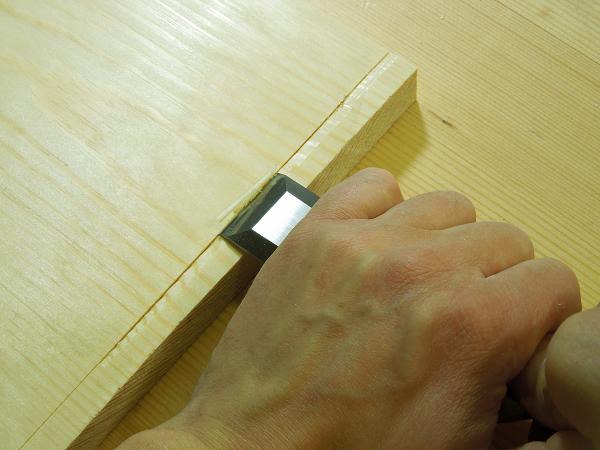
With hands behind the cutting edge cut a trough down to the base of the knife line then cut to length with a fine crosscut saw.
Secure in the vice and work down to the knife wall planning in from each end to prevent breakout.
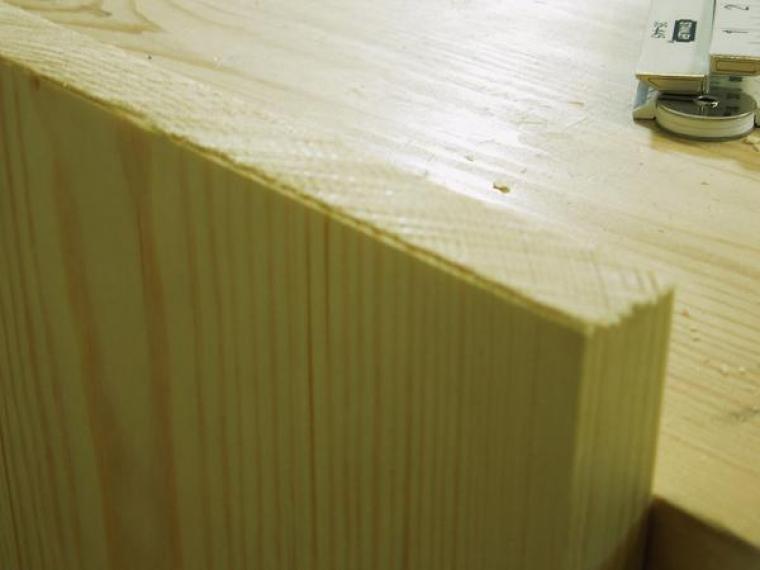
And you should have a nice crisp edge at the end of the process. Again I think this process is worthy of an article by itself.
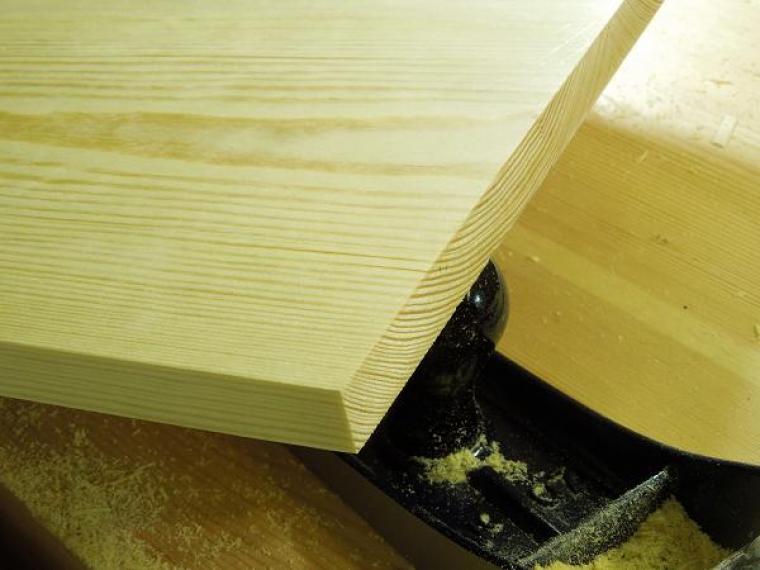
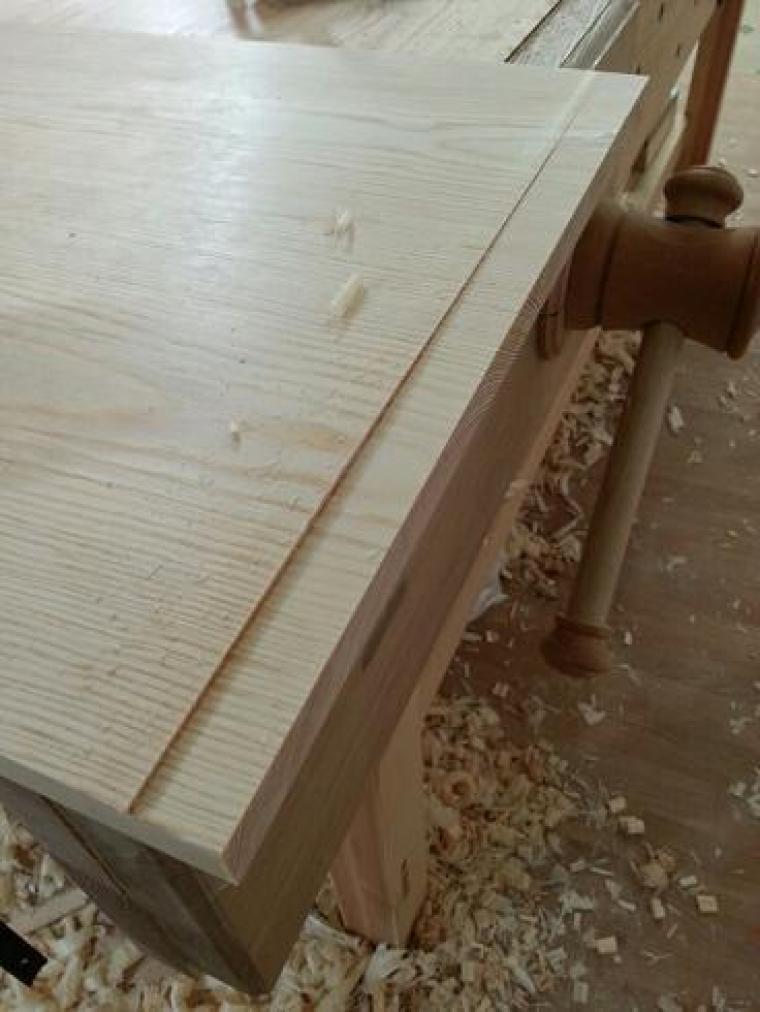
Once satisfied with the boards it's time to rebate the front and back boards. Set the plane to the thickness of the board plus in the region of 0.5mm extra (much easier to trim the projecting edge of a rebate than having to flatten a whole end!). Set the cut for 8mm, the rebate does not need to be deep, it's just providing some positive location. A rebate will need to be formed on the ends and one long edge. In the video I show working across the grain first, this means any break out can be removed on the long grain pass. However as there is no rebate on the top you will need to add a backing piece or as I choose to do, break the fibres with a sawcut. Work the plane steadily back as you can see in the video.
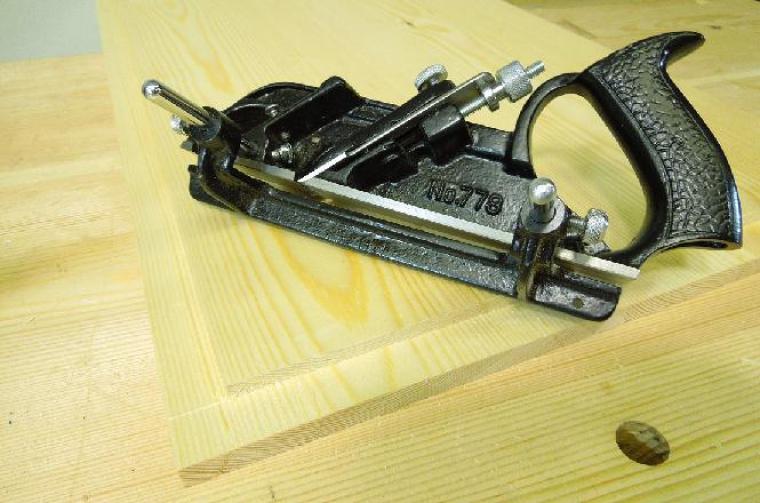
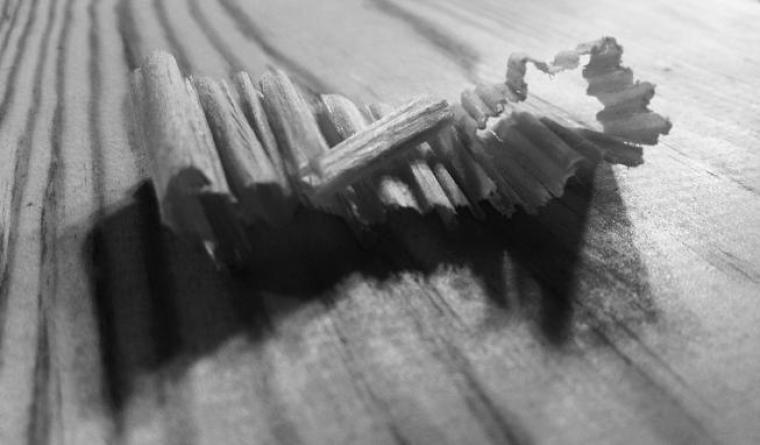
I'm using a very basic rebate plane which is a version of the Record 778 made by the Faithfull brand. It actually not too bad when you consider the reasonable price of around £30>40. The blade was out of square buy yielded quickly on the stone, the lever cap was a bit rough which grabbed the shavings so a little refinement there and the spur needed a sharpen. All quite easy if you feel reasonably confident at some problem solving. Although European Redwood is very mild the plane did perform well and is an option if you don't fancy a vintage model. It made pretty shavings too!
One final point to close. I had some very constructive feedback on the video. It was rightly pointed out that the board I'm working on looks a bit bent! Well it is :-). This is something that if you choose to make one you might have happen to you. Of course good timber storage and using wood balanced to the working environment help but sometimes stuff just wants to move. With the level of bending on these boards I feel confident when the piece is clamped and nailed things will straighten up just fine.