Sharpening a Chisel
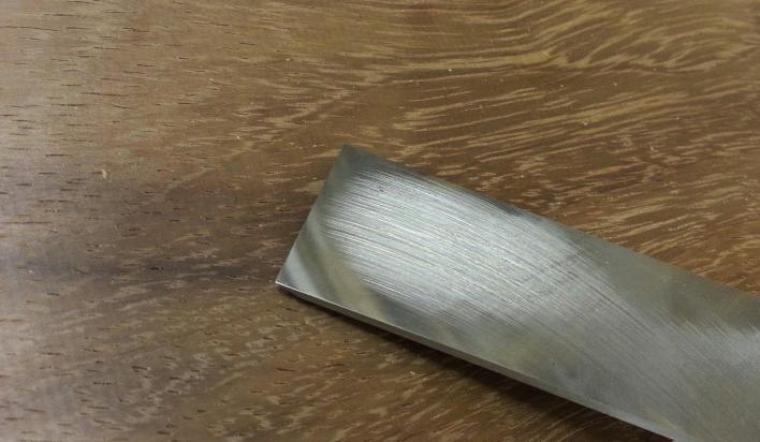
In the last post we covered what would be needed, this time out it's how to do it. If you want to watch the process take a look at the video above and you can also follow these steps. The first job is to work the back. As you can see from the photo below the back of most standard chisels have grinding marks that must be removed.

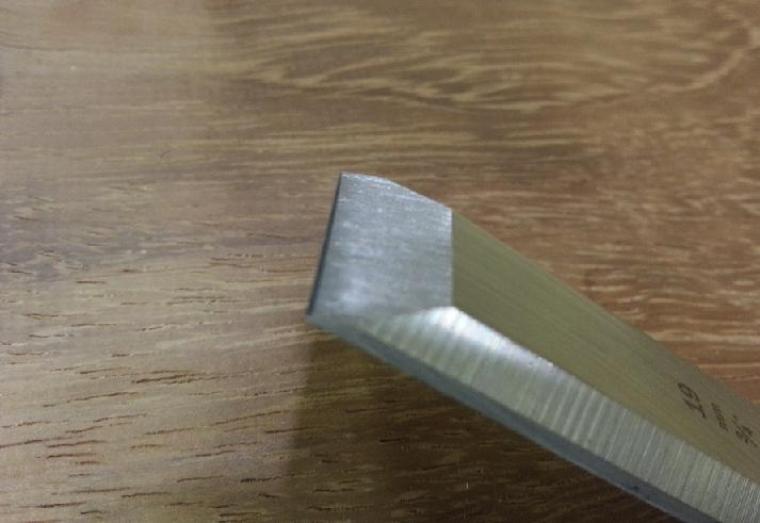
I prepare the back of the chisel to the same level as I would the hone the edge. To do this I place the back of the chisel onto the stone and work it over the whole area of the "fine" orange side of the stone applying oil as required. The India should remove these quickly as you will see in the video. Don't use heavy pressure, just keep the back nice and flat. When applying the chisel to the stone lay the back on carefully avoiding at all costs undercutting behind the cutting edge. Spend about 60 seconds or so working the back. Lift the chisel off and check the back. You should see the factory grind marks being removed and the fine surface created by the stone. Once the grind marks are removed from behind the cutting edge you can stop. Now take the chisel to the stropping block, add some autosol to the strop and repeat the process only now only drawing the chisel backward. Once finished the chisel should look like the photo below. This process only needs to happen once, after that no further work on the back should be required.
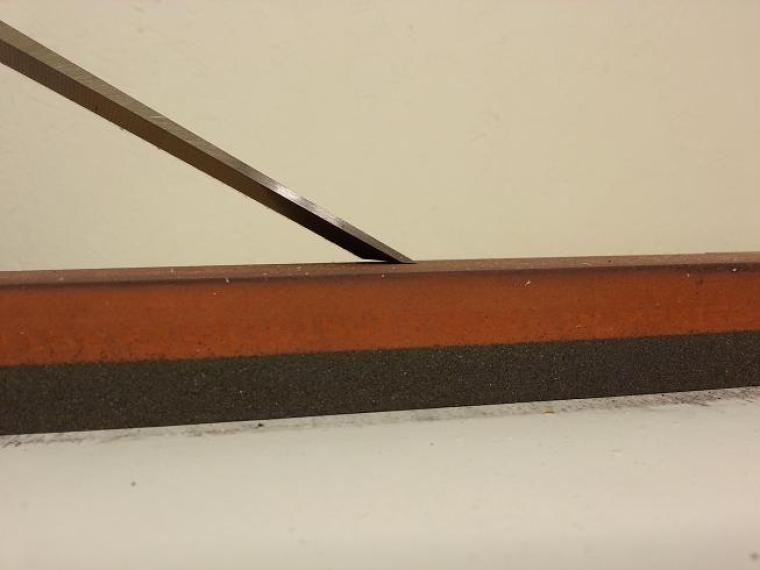
Next we need to hone the edge. Chisels usually come from the factory with a basic 25deg bevel. This angle is too low for general purpose work, therefore we apply a bevel of 30deg. We do not need to redo the whole bevel. The photo below shows how we lift the bevel up to an approximate 30deg and just hone the tip. Removing metal from the focussed point makes honing quick and easy.
I demonstrated two types of honing in the video, freehand and with a jig. Go for the one that gives you the best results. As we hone we create a burr that can be felt on the back edge. As soon as we can feel a burr turn the chisel over lay the chisel flat on the stone and draw it backwards. This usually turns the burr over. Flip the chisel over and take a few light passes, flip it over again and remove the burr from the back for the final time. Next, take the edge to the strop and polish the 30deg bevel for a few strokes pulling backwards, turn it on it's back and draw it backwards. You should now have a polished and refined edge as shown below.
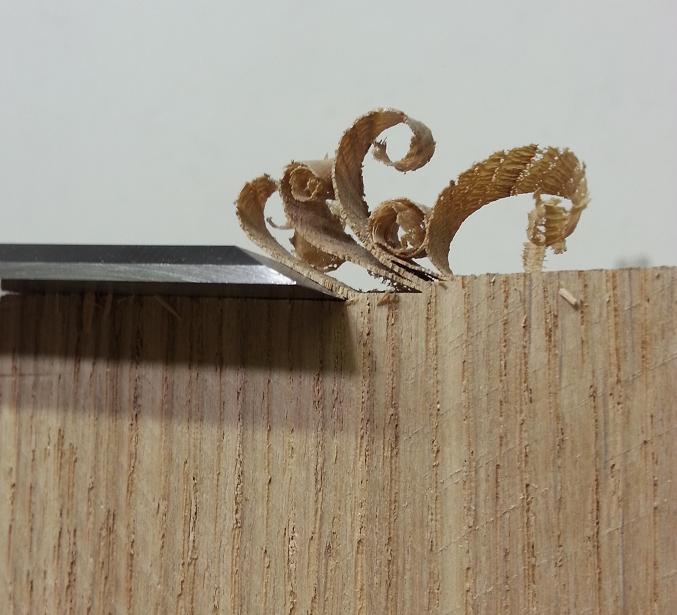
You should now have a nice sharp edge. To find out how sharp, securely clamp some wood and try to pare end grain. Make sure your hands are always behind the cutting edge. If the grain cuts sweetly all is well, if not, hone for a little longer and ensure you raise that burr.