Six Board Chest - Part 3
The more this project progresses the more I can see the attraction of simple furniture like this for the beginner or for those who need quick and durable items. In Part 3 the "Ends" receive a housing joint, notches cut to receive the front and back boards and also the shaped feet if you will. As you'll see in the video all of the stuff is really simple and needs only modest tools to get the job done.
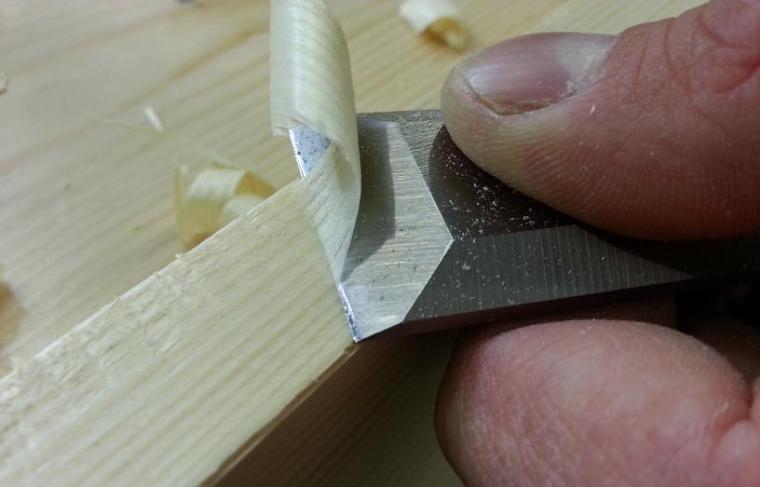
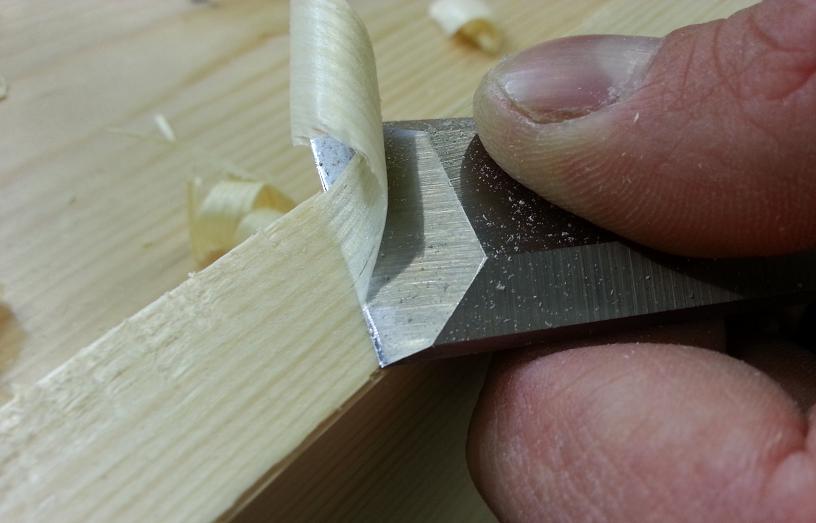
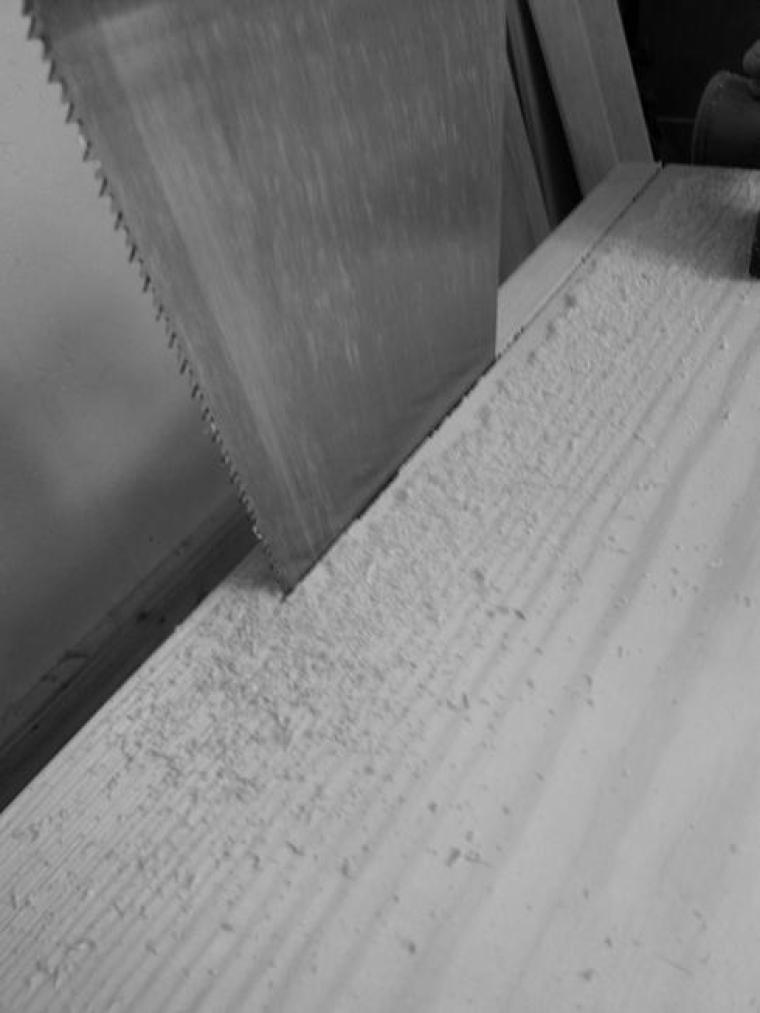
To set out the housing joint I used the front board we rebated last time. I like setting out jobs using actual components where possible, it tends to avoid errors. Sure, it's not always practical but when the work allows it I do it. The shoulders of the housing are marked with a knife and the depth of the housing set to 8mm, just enough to give it some decent location. A wide chisel is then used to define the edge of the housing making it easy to saw the edges of the housing. To help with accurate sawing some people like to add a guide batten, if you're finding it tough to cut straight or you want to be extra sure on accuracy this might be a step you consider adding.
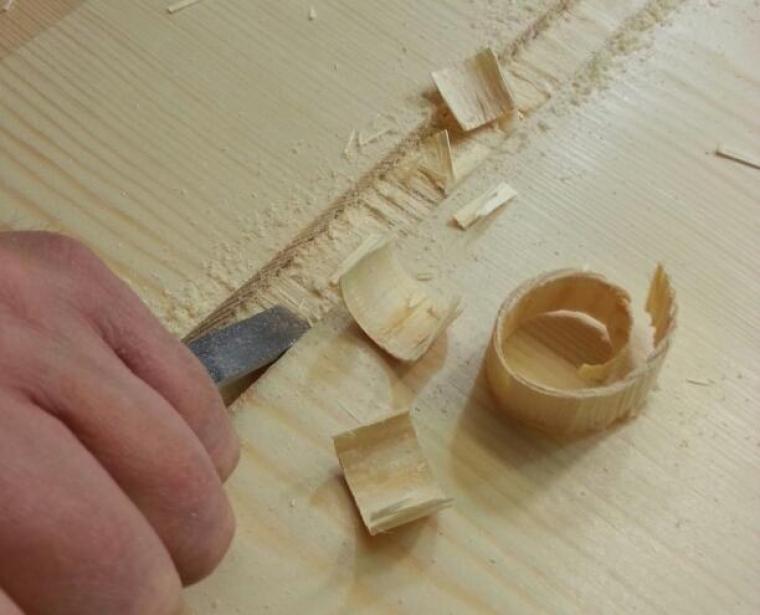
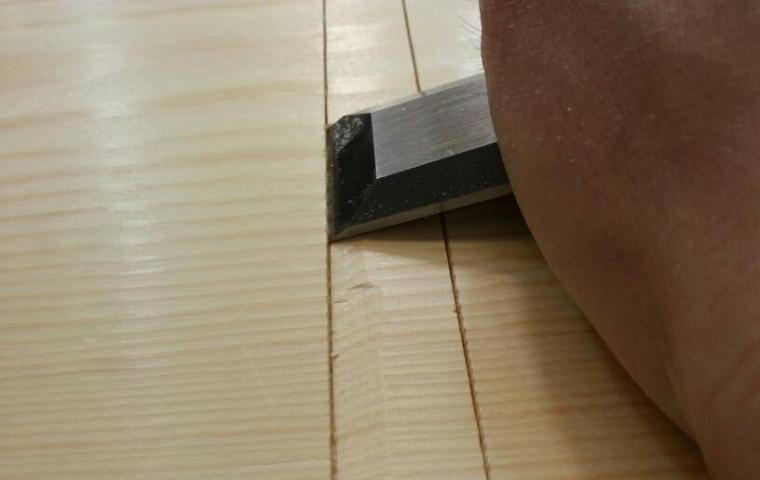
To remove the bulk of the waste from the housing I attack it with the bevel down. Forgive any awkwardness in the video, I'd normally come from both sides but I tried to speed the process up a bit! It's amazing how accurate you can be just doing this freehand. To finish up the housing use a hand router. In the video I'm using a wooden version. This is not really a preference, it's just nice to mix it up now and again. It might be fun to look at making one of these simple tools one day but they can be had so cheaply there would be little point doing so unless for the joy making your own tools.

If you recall on the design I'm following the front of the chest is set back to allow the fitting of a moulded plinth. I gauged the front 20mm and the back at 12mm (what was left after the rebating) which will allow the back to fit flush. I cut these very close to the make just allowing a small amount to tidy up. I normally cut this kind of thing on trestles so it was good to experiment cutting at the bench.
A bit of final paring was then done to refine the fit. I set the ogee in a loose freehand way using the waste from one half to set out the other half. I used a coping saw for the shaped cut. I prefer to use my coping saw on the pull stroke as the action of cutting adds tension to the blade. If you push is tends to slakken it. Truth be told I don't mind a bit how you use your coping saw, I just thought you might like to know how I use mine. Finishing up the shape is then a case of what you have at hand. Rasp, file, spokeshave, scrapes and sandpaper are all welcome and get you where you need to go. Just remember to work with the grain as I point out in the video, it makes using a spoke shave much easier.